

We have worked through several of the Pro-Code approaches to Copilot/AI implementation in Business Central (Start here if you are curious). There are also Low-Code options available for those who don’t want to create Business Central extensions. This week we will take a look at Copilot Studio and Business Central.
We are going to use Copilot Studio to design our AI and interact with Business Central as well as other data sources. This highlights the key “why should we use Copilot Studio?”. Copilot studio is a cross-platform tool, allowing us to design a Copilot Agent that functions with Business Central, Teams, D365 Sales and Marketing, and all sorts of other platforms and tools.
Here is what we see when we open Copilot Studio.
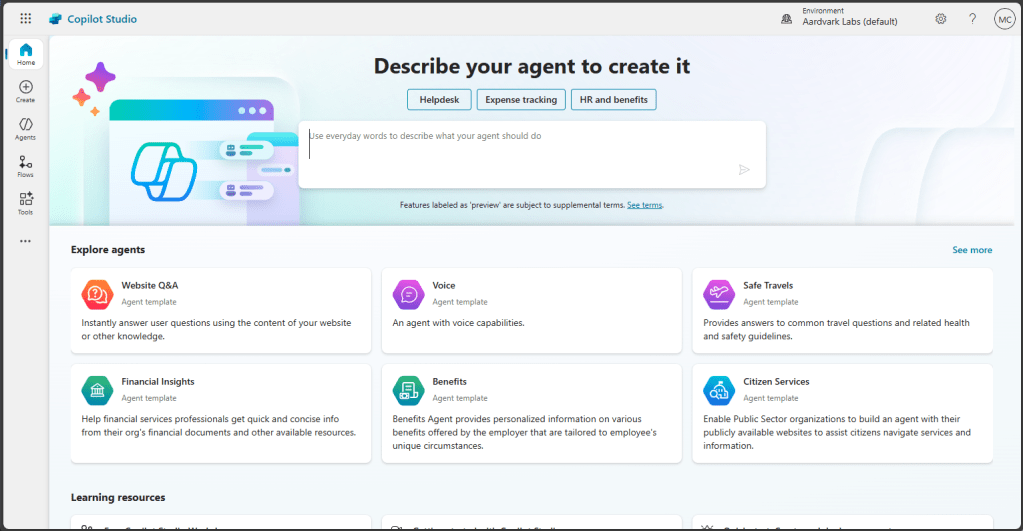
Keeping with the low-code approach, we start by giving it a simple prompt to get things moving.
Help me identify customers that I need to follow up on for accounts receivables.
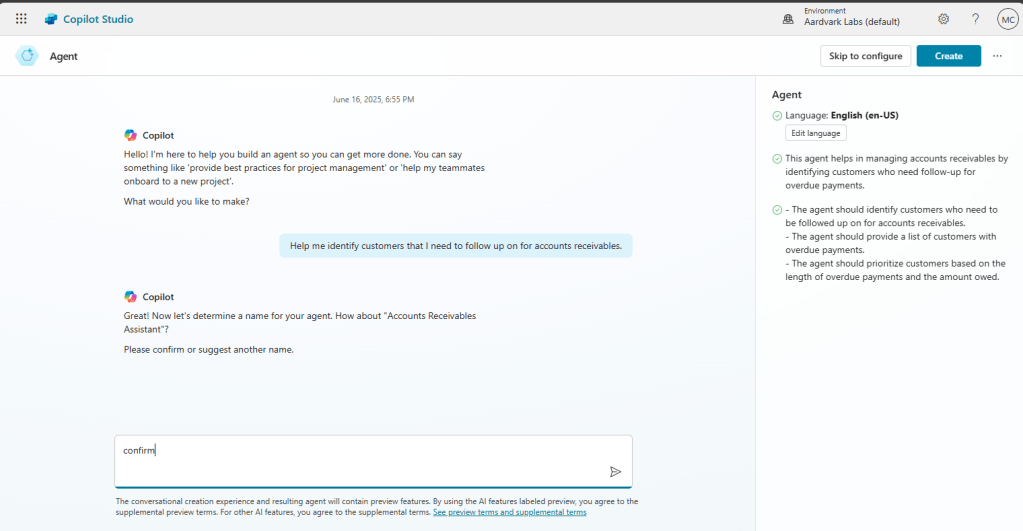
It recommended the name “Account Receivables Assistant” and I’m going to go with that.
I then told it that I wanted it to “provide summaries”, then I clicked “Create”.
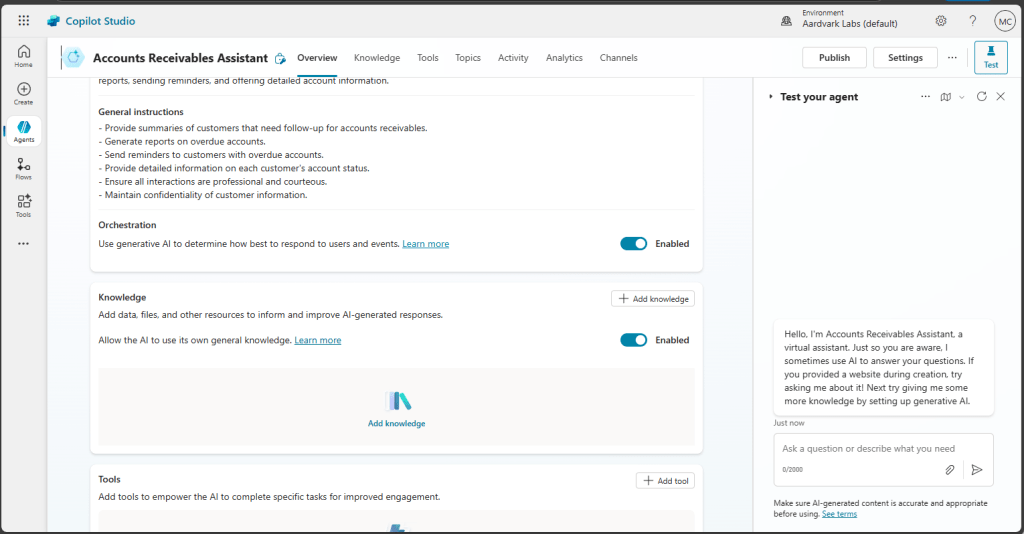
Just like that, we have a basic GPT-4o backed system, but it has no knowledge of Business Central. As of the writing of this, there isn’t a “knowledge” connector for Business Central, but we have options.
Knowledge connectors provide broad data that the system can utilize for response generation. There is also a Tools connector, which is used by the agent to complete tasks. There is a Business Central Tool that we can add.
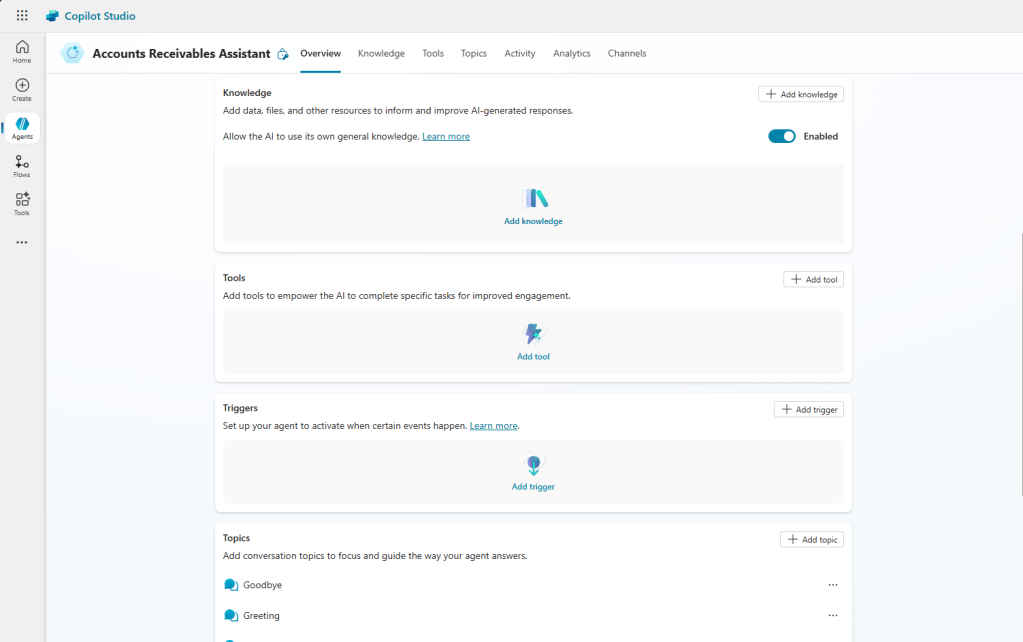
First we scroll down in the Overview tab, find Tools and click “Add tool”.
Here we can search for “Business Central” and locate the “Find Records (V3)” tool. Note this is very similar to the “Find Records (V3)” we have in Power Automate.
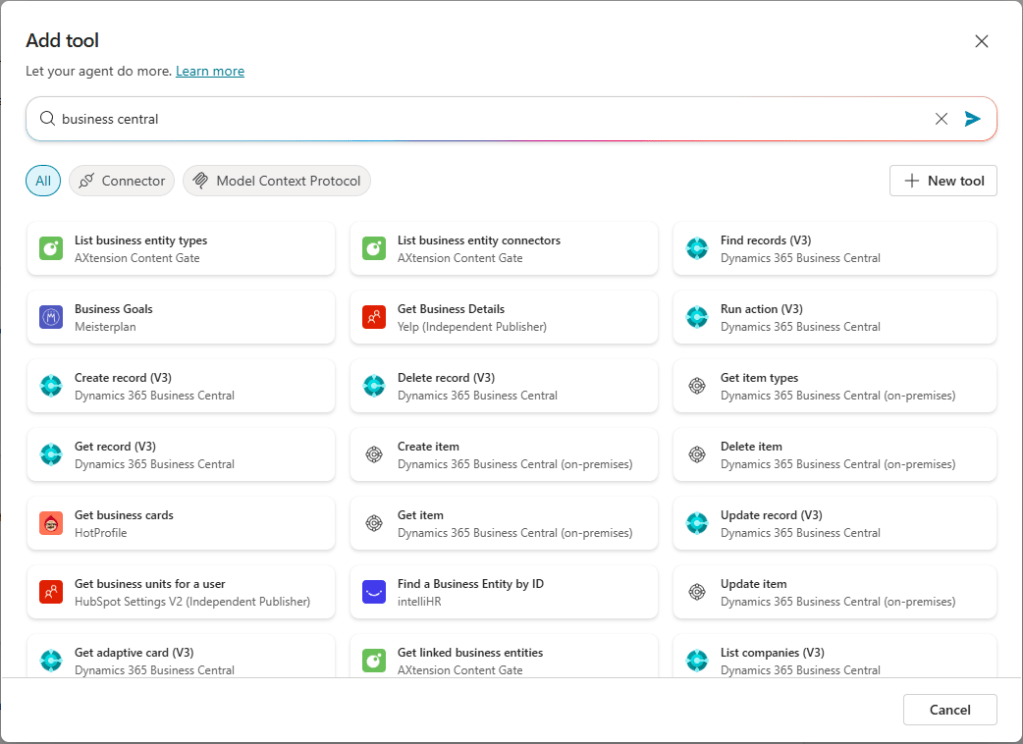
When adding the tool, we will need to authenticate for access to Business Central.
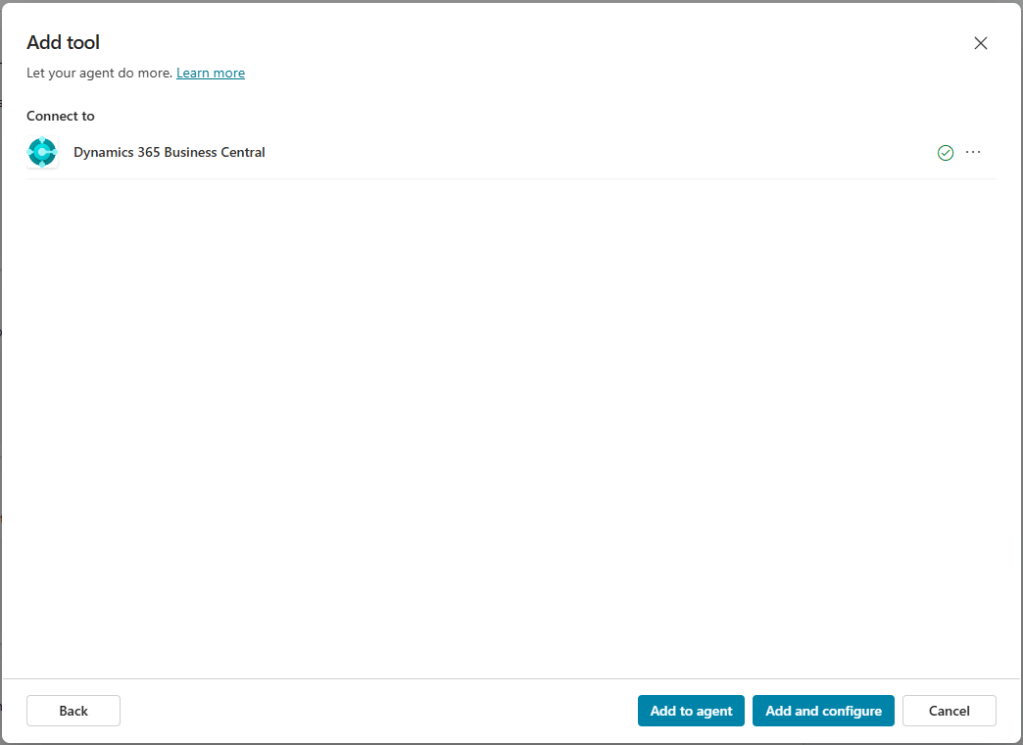
Now we can start providing details about the connection.
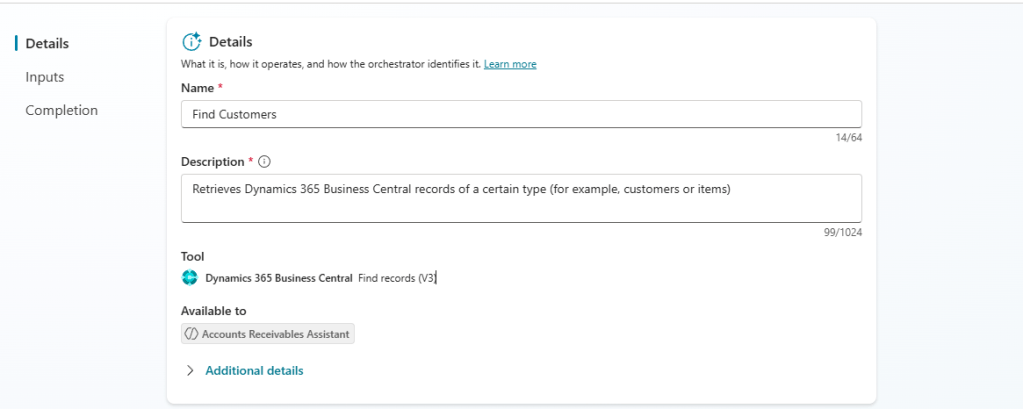
We need to select our Business Central Environment, Company, API category, and Table from that API category. Note that you must click “Save” after EVERY FIELD for the next field in the list to support IntelliSense.

If you don’t save after every field, the lists won’t populate, and you’ll spend an hour with the company NAME in the field and not the company unique id.
Last, we can decide what to do with the results that come from the API call.
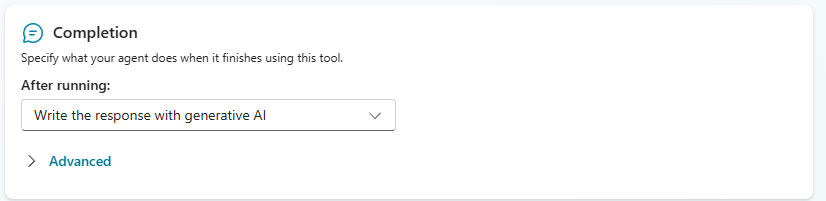
In this case we are going to allow the GPT-4o model to take the JSON data from the API and generate a response.
On the right-hand side of the screen there should be a “Test” button. If it isn’t already active, click it to get a test panel.
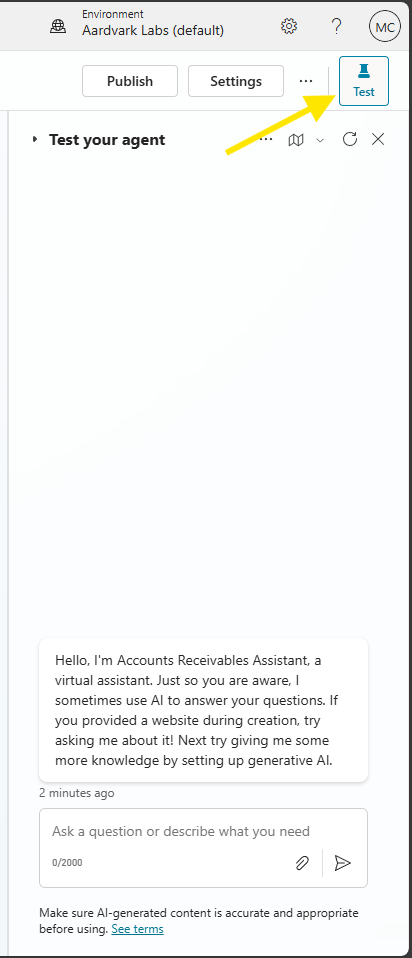
Let’s ask our new agent a few questions about our Business Central data.
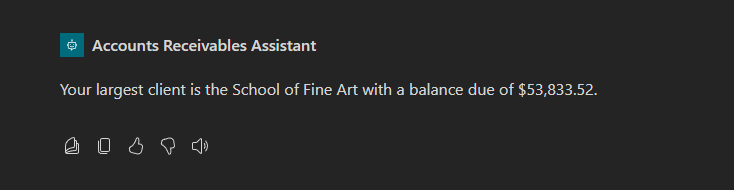
I’ll ask “Which customer has the highest balance?”
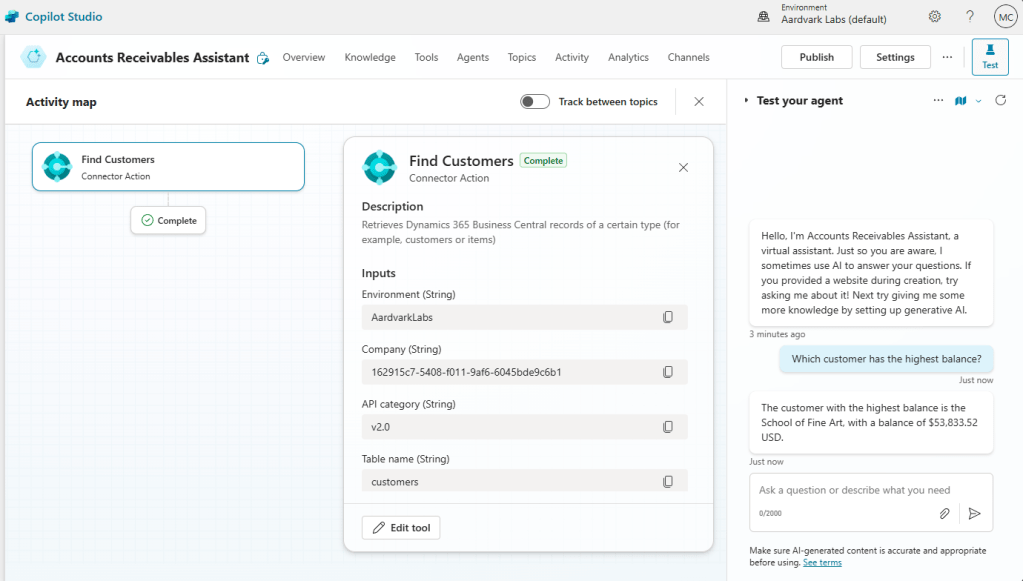
It responds with “The customer with the highest balance is the School of Fine Art, with a balance of $53,833.52 USD.” Which is the correct answer.
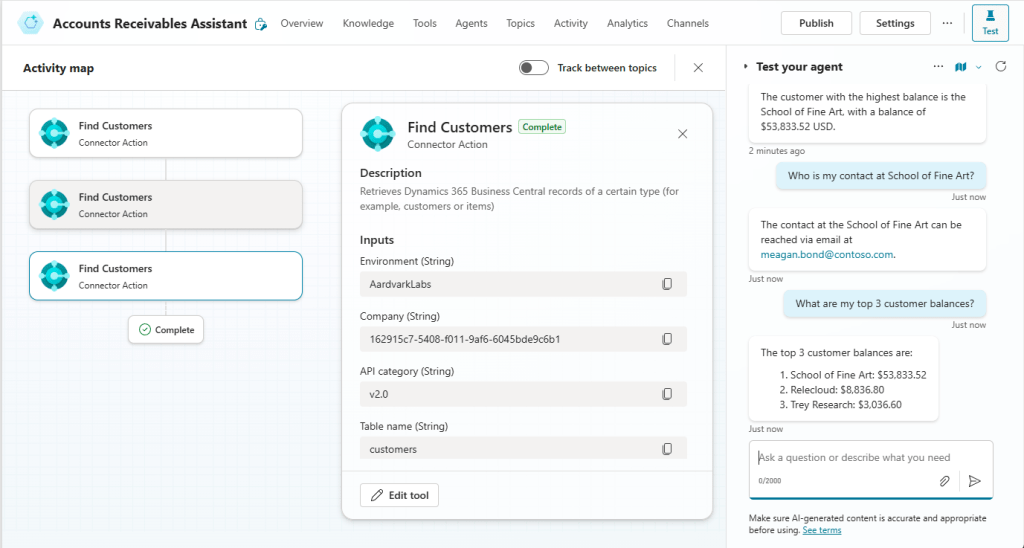
We can see an activity map on the left that displays the activity during our chat with the agent. As we continue to ask it questions, the activity map grows.
Now if I ask it for something else, like the current weather in New Hampshire or Accounts Receivables advice it won’t have an answer for me. For this we need to add Knowledge.
Chaser happens to have a PDF resource guide called “The ultimate guide to accounts receivable”. They also integrate with Business Central, so there is a loose connection here. I’ve downloaded their PDF and can upload it to the agent.
Click on Knowledge then Add Knowledge.
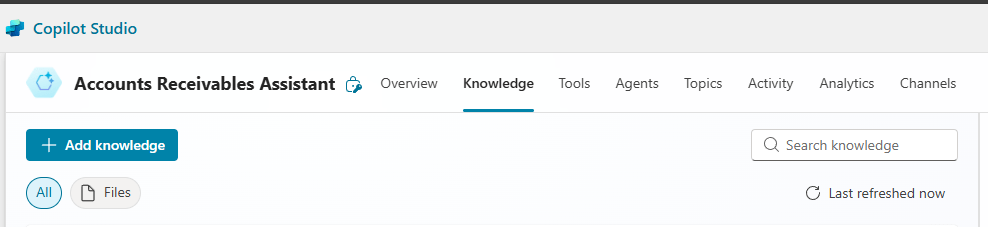
It is then a simple Drag and Drop of the PDF into the Upload File area.
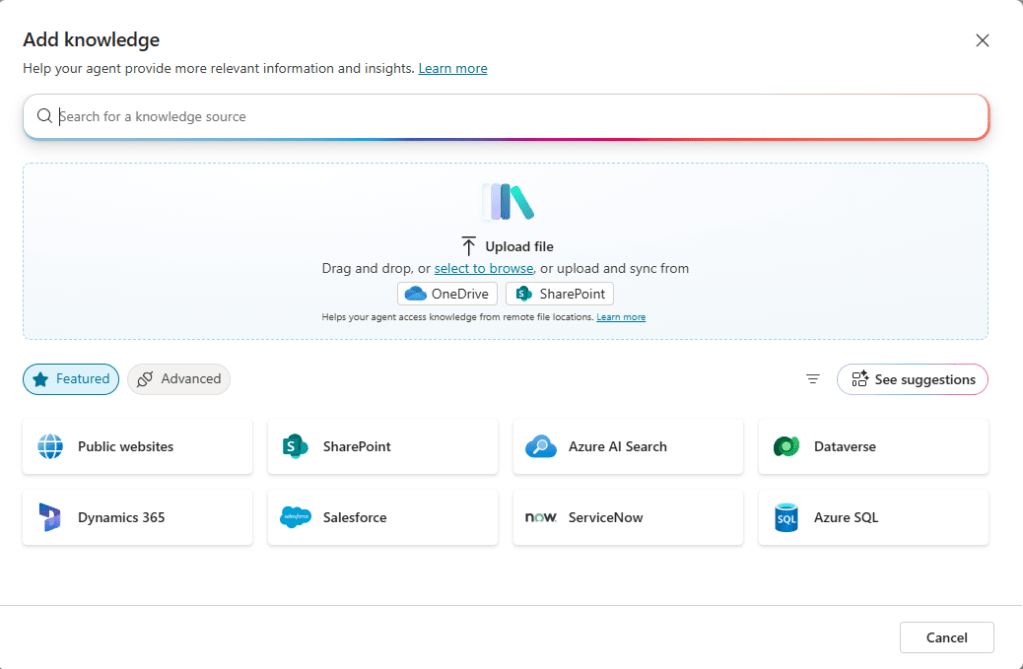
The agent will then read the PDF. This is all isolated to your agent, it is not using this data to train a larger GPT model. You can also point this as a Dataverse source, SharePoint directory, Salesforce, or several other sources if you like. The number of available sources is always changing, so expect this screen capture to be out of date.
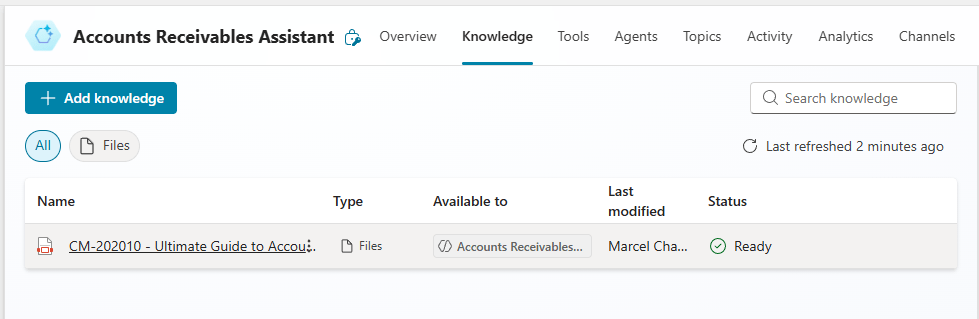
It took a few minutes, but the status changed to “Ready”, and the PDF is now part of our agent.
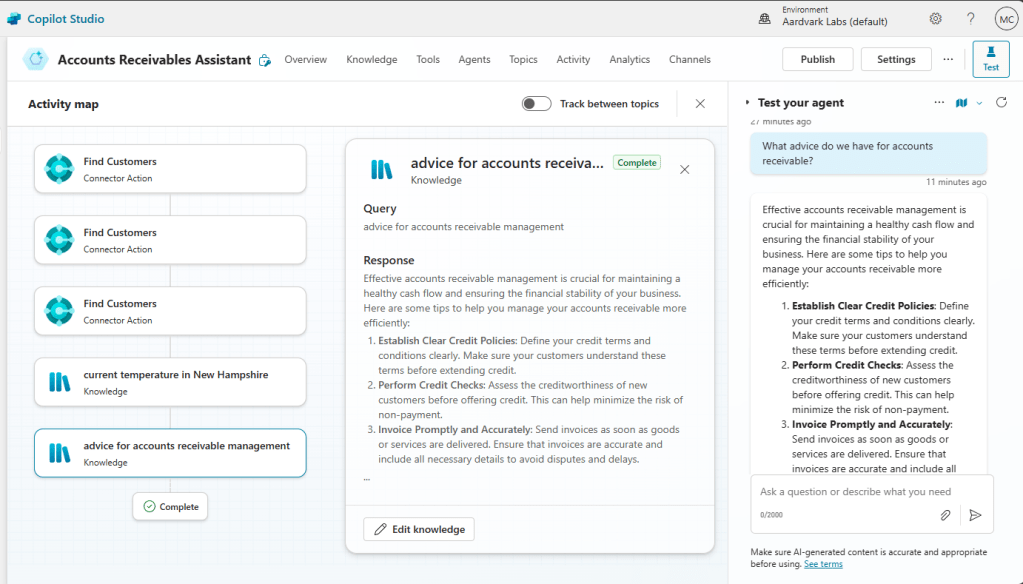
I can now ask the agent about “What advice do you have for accounts receivable?” and it returns a rather in-depth answer.
This is the start of a basic agent. There are lots of things you can do by managing topics, adding more agents, linking tools and knowledge to topic trees. Copilot Studio agents are very powerful and there are so many more options to explore.
The last step we need to do is select how we want to publish our agent. Clicking on “Channels” we can see all the locations where this agent may interact. Because we have a tool that uses Microsoft Authentication we are limited to Teams and SharePoint.
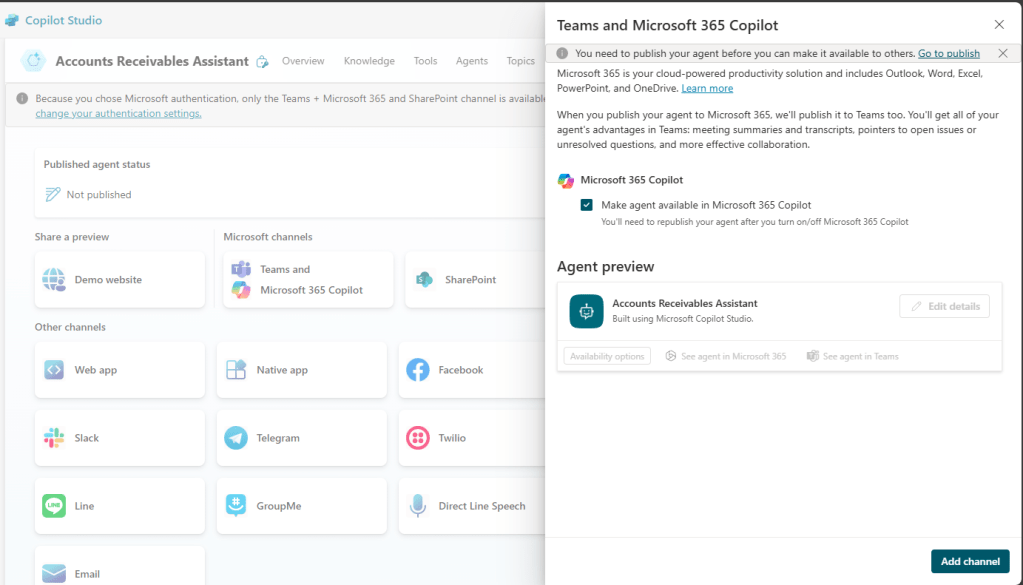
I clicked on the “Team and Microsoft 365 Copilot” channel. Then we click the Add Channel button in the lower right corner.
When I click the Publish button in the upper right corner, it churns for a few moments and then we are done!
In Teams, I select Copilot, then I can “Get Agents”.
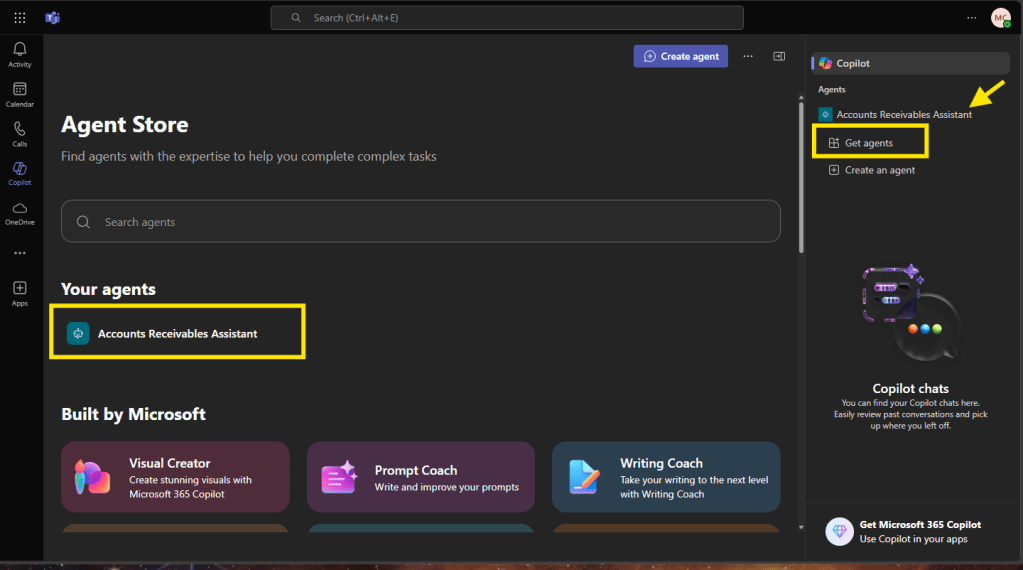
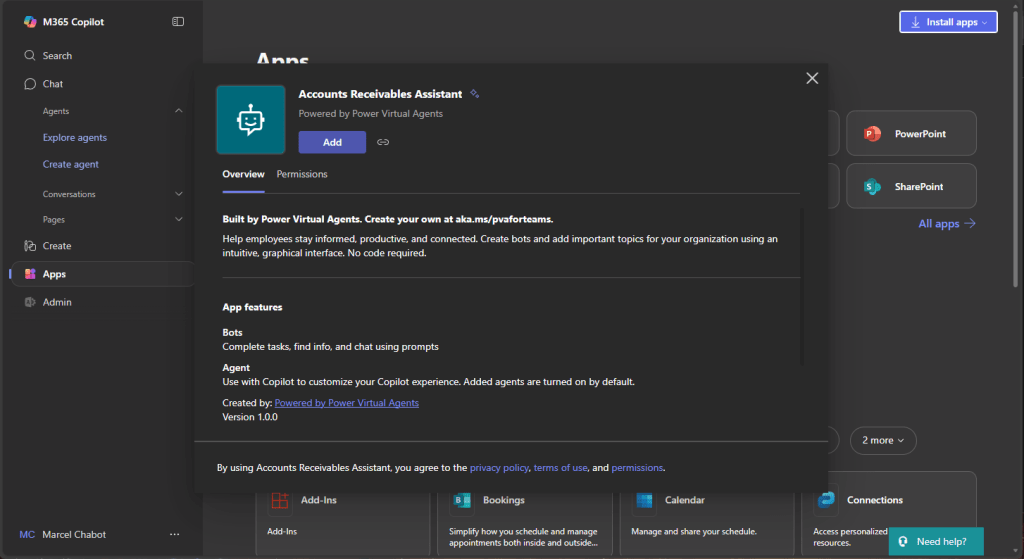
I can select my Agent and click Add.
I can now select that agent and ask it questions. The first time I do, it will prompt me to connect.
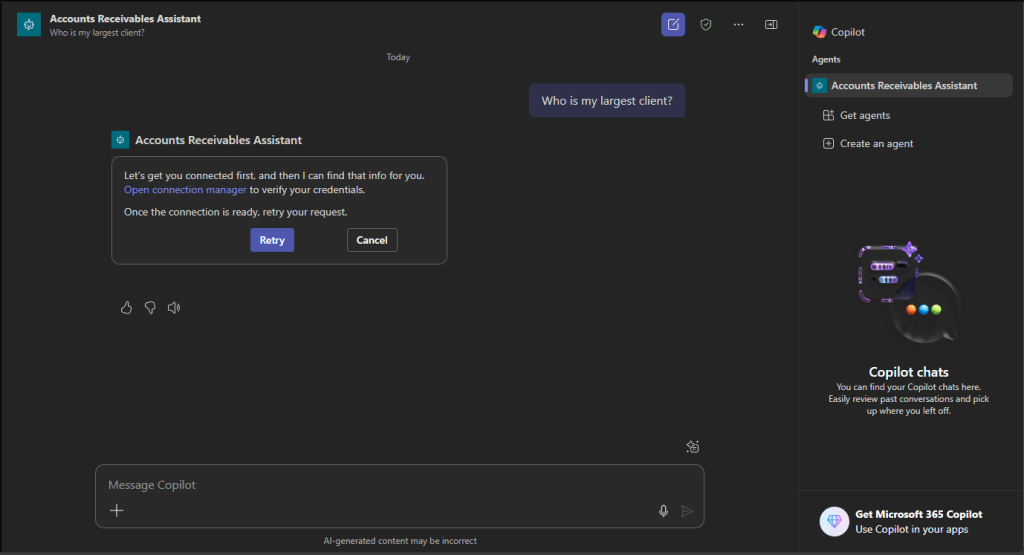
Each user will need to authenticate with their Business Central credentials the first time they converse with the agent. The system will also be limited to data that their user has permission to access. Once that is all entered, the system works as expected.
With that we have created Copilot Studio Agent connected to Business Central and some additional knowledge from outside sources and published it to Teams.
There is a lot more you can do with Copilot Agents; this is just our first example to get started. Let me know if you have any ideas for more advanced agents we can explore in the future.


Leave a comment